Raspberry Pi Smart Mirror
Product Quick Detail
- FOB Price
- USD $300.00 / Piece
- Minimum Order
- 10
- Place Of Origin
- China Mainland
- Packaging
- 1 pcs each Cartonbox
- Delivery
- 20 Days
Specifications
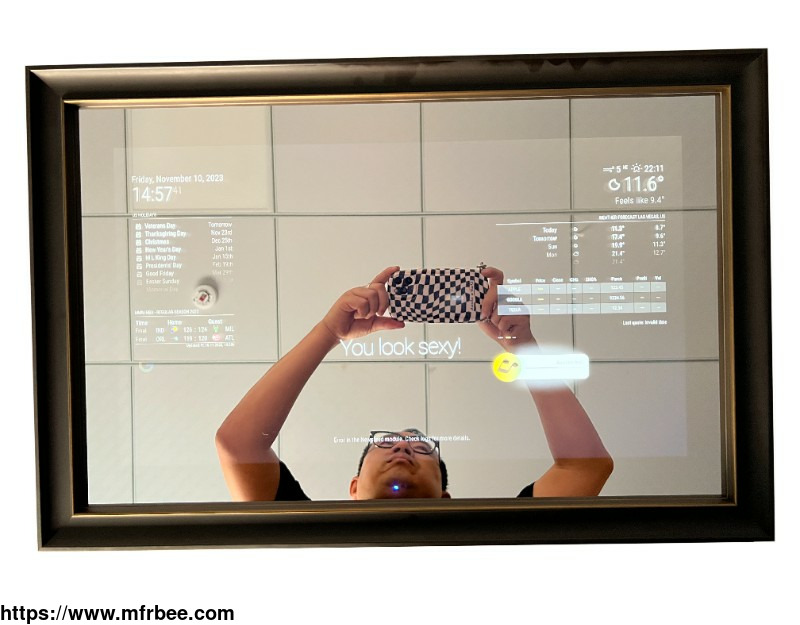
A Raspberry Pi smart mirror with a 21.5-inch LCD panel is a fantastic DIY project that combines technology and creativity to create a futuristic and functional home device. Let\'s break down the components and steps involved in creating this innovative smart mirror:
1. **Hardware Components**:
- Raspberry Pi: A small, affordable computer that will serve as the brain of the smart mirror.
- 21.5-inch LCD Panel: The display component of the smart mirror, providing the reflective surface for the mirror.
- Two-way Mirror: A special type of glass that allows light to pass through, enabling the display to show through while still functioning as a mirror.
- Frame and Housing: The structure that holds all components together and gives the smart mirror a polished look.
- Power Supply: To provide power to the Raspberry Pi and LCD panel.
2. **Software Setup**:
- Operating System: Install Raspbian or any other compatible operating system on the Raspberry Pi.
- Magic Mirror² Software: A popular open-source software platform designed for creating smart mirrors with customizable modules for displaying information like time, weather, calendar events, news feeds, etc.
- Configuration: Customize the Magic Mirror² modules according to your preferences and needs.
3. **Assembly**:
- Mounting the LCD Panel: Securely attach the 21.5-inch LCD panel behind the two-way mirror.
- Connecting Components: Connect the Raspberry Pi to the LCD panel, power supply, and any other peripherals you may want to include (such as speakers or motion sensors).
- Enclosure Design: Build or modify a frame to enclose all components while allowing access for maintenance if needed.
4. **Calibration**:
- Adjusting Display Settings: Calibrate the display settings on both the Raspberry Pi and Magic Mirror² software to ensure proper visibility through the two-way mirror.
5. **Customization**:
- Personalization: Add custom modules or features to display information relevant to your needs, such as social media feeds, traffic updates, or personal reminders.
6. **Final Touches**:
- Mounting and Installation: Securely mount your smart mirror in its designated location within your home.
7. **Enjoy Your Smart Mirror**:
Once everything is set up and running smoothly, you can enjoy your personalized smart mirror experience every day!
8. ** We Owatis company supply all the components and has assembled them together for you , just buy it and update the software as what you like .
In conclusion, building a Raspberry Pi smart mirror with a 21.5-inch LCD panel is a fun and rewarding project that combines technology with practicality. It not only serves as a functional piece of home decor but also showcases your DIY skills and creativity in integrating modern tech into everyday life.
- Country: China (Mainland)
- Business Type: Manufacturer,Distributor/Wholesaler,Trading Company
- Market: Americas,Europe,G20,Middle East
- Founded Year: 2013
- Address: 3# YANSHAN AVENUE BAOAN DIST SHENZHEN CHINA
- Contact: SAM YU


